


There’s something about gardening that’s more rewarding than a perennial border, especially when it comes to being patient. Plant one year and reap the rewards for a few seasons, and then it’s a garden of color and texture that returns year after year, no replanting, no beginning from scratch!
However, a really magnificent perennial edge is not merely a string of beautiful flowers planted in the ground. It’s a little design, all the elements of height, timing, and repetition, never empty, never chaotic. Learn how to plan and plant one that will last.
Pick the Right Spot First
Take a stroll through your yard and inspect the edges that would benefit from softening. Try a perennial border that runs along a line that already exists in your landscape, like the edge of a walkway, the base of a fence, the front of a deck, or the lawn to a wooded area.
Many plants that like full sun require at least 6 hours of direct sun, so be sure to track the light movement throughout the day. Shade from a nearby tree in the afternoon coupled with a morning sun might result in a different plant list than a full day of sun.
Design in Layers, Not Rows
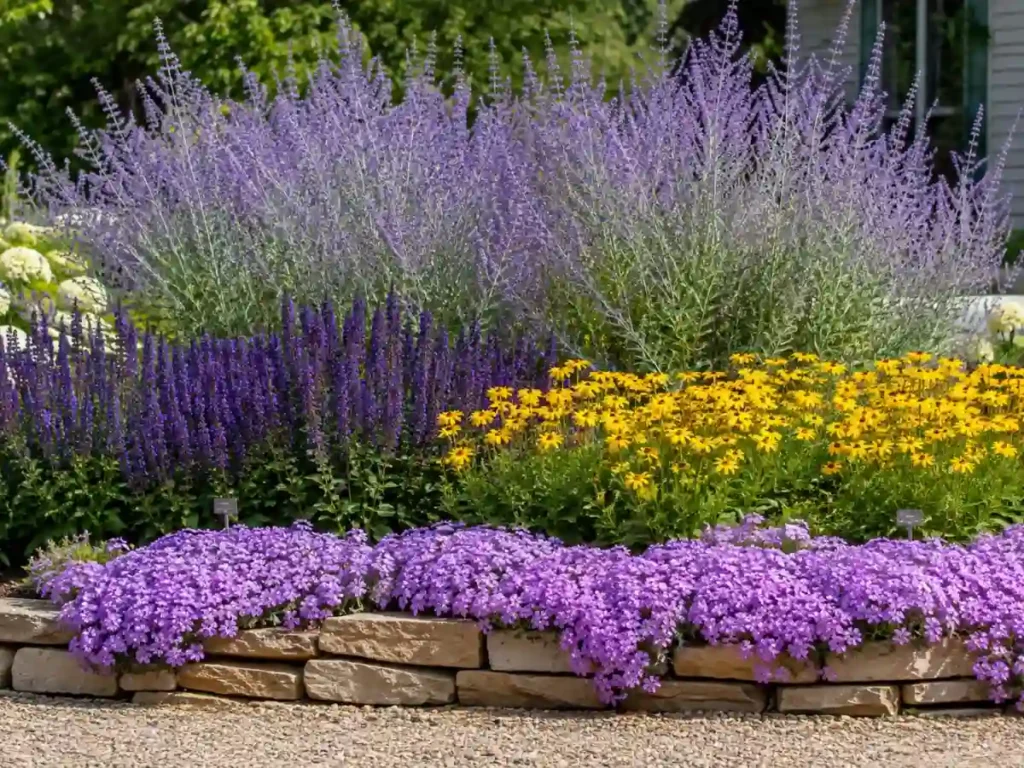
The common first perennial bed error is to plant all the plants at about the same height so that from a distance, it appears as a single expanse of green. But imagine the border with three bands, akin to an amphitheatre, tallest at the back, shortest at the front, and a middle band joining the two.
Back tier (roughly 3–5 feet): These are your anchors, the plants that provide the skyline for your border. Garden phlox, Russian sage, tall coneflowers, and Joe-Pye weed are good choices.
Middle tier (18–30 inches): This is the most common tier used that fills in the majority of the visual space. Salvia, coreopsis, Shasta daisy, and yarrow are great plants for this location.
Front tier (6–15 inches): Low-growing plants that extend towards the walkway or lawn edge and cover the unsightly stems of all that comes after. Consider creeping phlox, dianthus, coral bells, or dwarf daylily.
In the case of a fence or wall backing a bed, only the back-to-front gradient is required. When it is a freestanding island bed that is viewed from several angles, place the tallest plants in the center and gradually decrease in all directions.
Stagger the Bloom Times
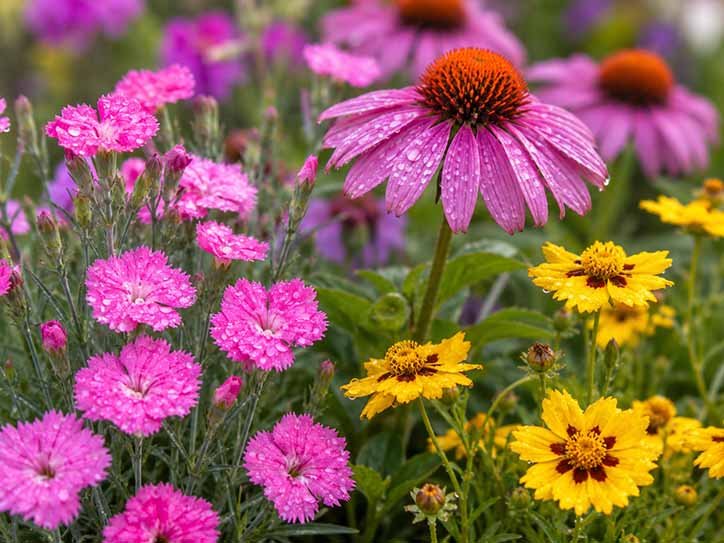
A pure June-blooming perennial border will be a glorious show for three weeks and a forgettable display for the rest of the year. The solution is to consider the season instead of the individual plants; to plan a rotation in such a way that there is always something in flower.
- Early spring: creeping phlox, columbine, dianthus
- Late spring into early summer: salvia, coreopsis, Shasta daisy
- Midsummer: coneflower, bee balm, garden phlox
- Late summer into fall: black-eyed Susan, sedum, asters
One good tip while shopping: If you purchase plant tags, make sure that you put them in one of the four piles before you leave the nursery. If one pile is empty, you know where the space in your border will go.
Plant in Drifts, Not Singles
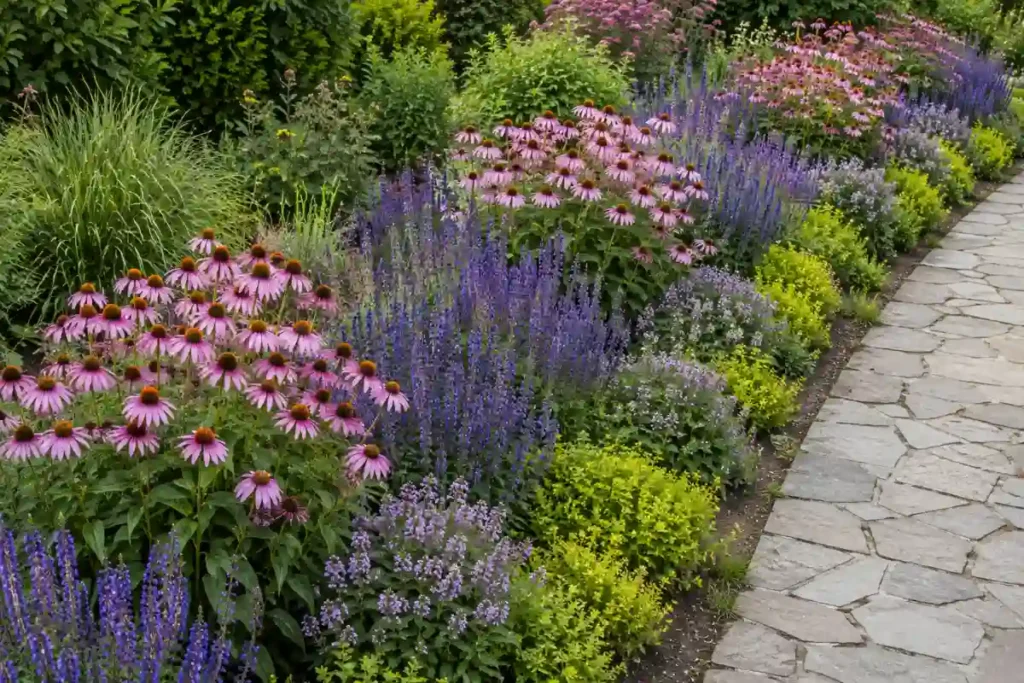
Almost never do professional-looking borders feature one plant of each specimen evenly distributed throughout the border. Instead, plants are planted in clusters of three, five, or seven, and this cluster is repeated further along the border.
Simple version of this: plant a cluster of 5 coneflowers, another 30 inches along. Blend salvia in with the space between them. Repeat the pattern around the length of the border. Repetition just looks like intention to the eye, so this is probably the single most effective habit for a “designed” look.
Prep the Soil Like You Mean It
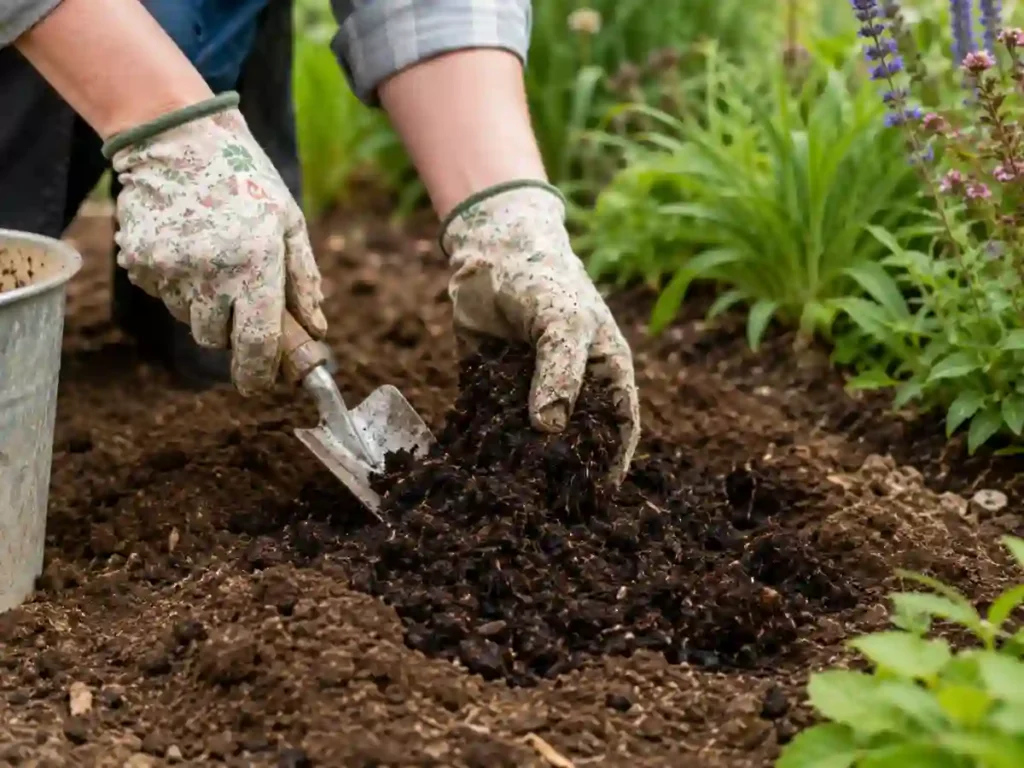
The bed you plant perennials in is important; it is a long-term investment, unlike a one-season annual bed.
- Clear the area completely of grass and weeds — any roots left behind will compete with your new plants for years.
- Loosen the soil to a depth of about 10–12 inches, breaking up compacted clay if that’s what you’re working with.
- Work in two to three inches of compost or well-aged organic matter across the bed.
- Water the area lightly before planting so it settles, and you can see where it drains poorly.
Good soil prep isn’t visible when the border is full, and it’s the difference between plants that limp along and plants that really thrive.
Space for the Plant’s Future Size, Not Its Current Size
Almost all perennials will come from the nursery looking smaller than they will grow to be, and it would be easy to plant them in small areas to make the bed look full right away. Resist that instinct. Even if there will be gaps visible in year one, check the mature width on the plant tag and space the plants accordingly.
When perennials are overcrowded, they compete for water and nutrients and may also hold water against their leaves, and are much more susceptible to fungal diseases such as powdery mildew. When planted with proper spacing, a border will appear sparse for one year, and lush for the next 5 years.
Finish With Mulch
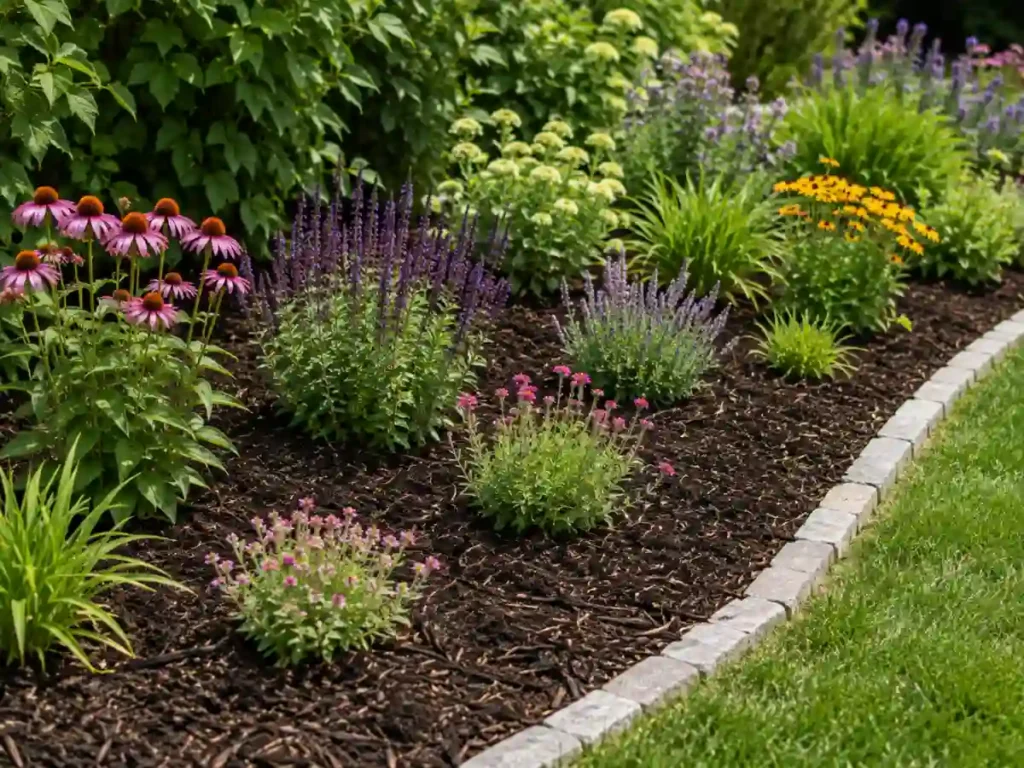
After planting, apply 2-3″ of mulch, avoiding the stem and crown of the plants. Mulch serves three purposes: It retains soil moisture, suppresses weed seed germination, and provides a clean, neat appearance to the entire bed when the plants are young.
Perennial beds: Shredded bark, pine straw or hardwood mulch (any of these materials is fine, depending on what is available and inexpensive in your area).
What to Expect Year by Year
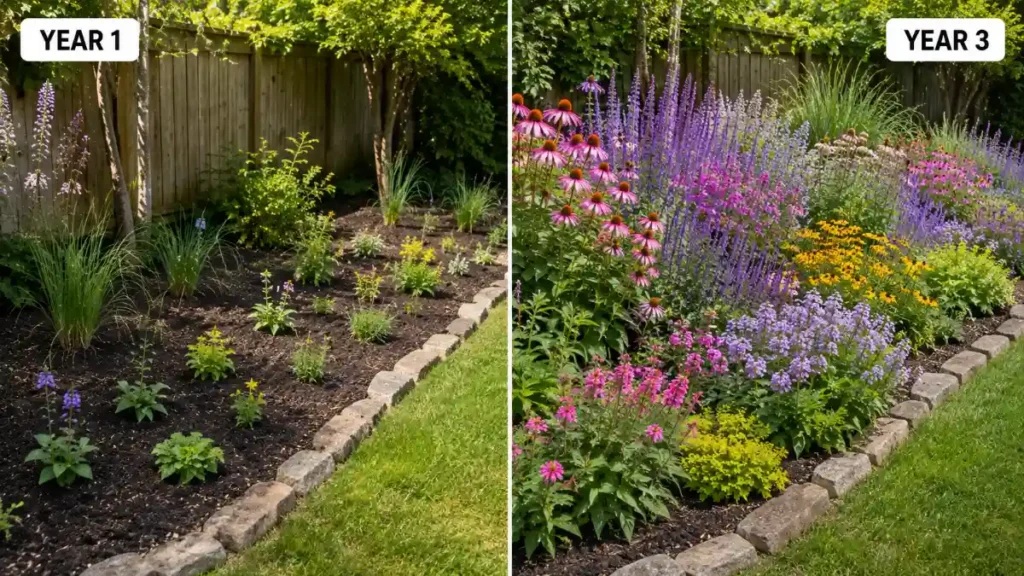
Perennial borders follow a fairly predictable timeline, and knowing it in advance saves a lot of second-guessing:
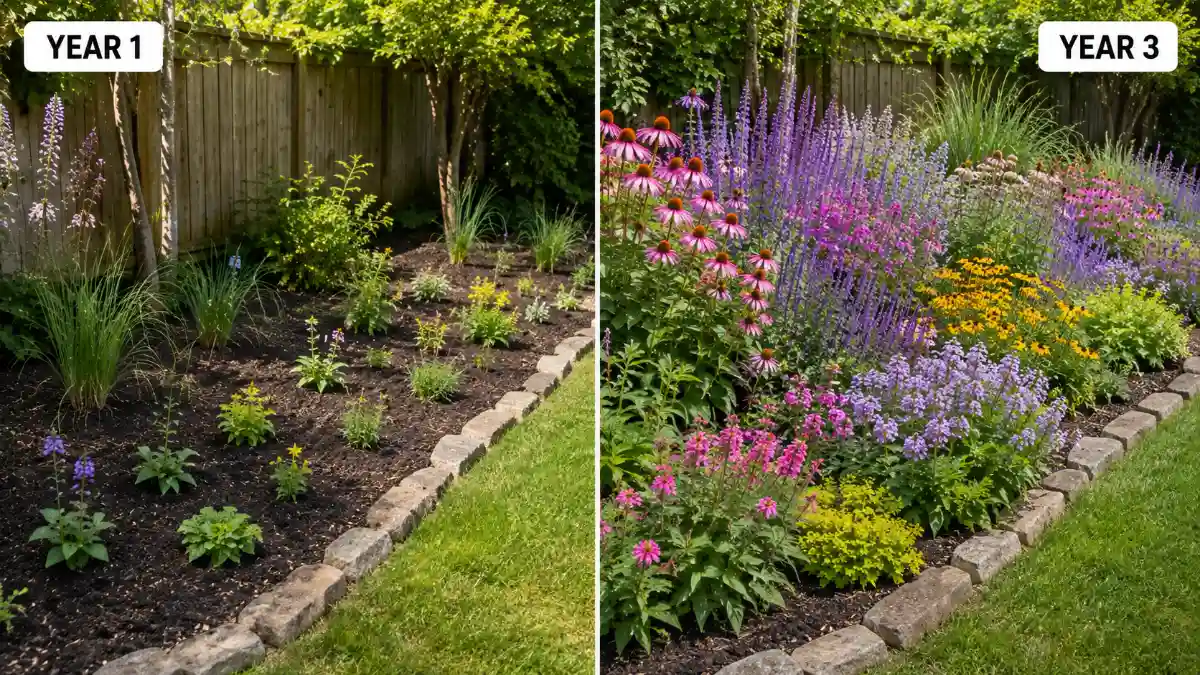
- Year one: Plants are focused on establishing roots underground. The top growth will look modest, sometimes disappointingly so.
- Year two: Growth accelerates noticeably. Plants fill in, and you’ll likely see more blooms per plant than in year one.
- Year three: The border hits its stride — full, layered, and self-sustaining, with the drifts merging into a cohesive whole.
That timeline is exactly why the spacing advice above matters. A border that looks perfectly full in month one is a border that will be overcrowded by year three.
A Short List to Start With
Perennial borders, like many things, have a fairly predictable timeline, and it helps to know what to expect ahead of time, and thus avoid a lot of second-guessing
- Coneflower
- Black-eyed Susan
- Salvia
- Coreopsis
- Daylily
- Sedum
- Garden phlox
- Bee balm
Stagger a few from each window of bloom, add a couple of windows of height, plant in an assortment of drifts, and you’re well on the way to a border that will look better every year!
